After enjoying the benefits of having a full-fledged hardware lab for Linux development at work, it became apparent that I needed to build at least some of the capabilities of a systems development lab at home. In a series of posts, I am sharing what I built, how I sourced different components and how I put this together. In this first part, I will focus on the 19″ rack and its organization.
The starting requirement list at this point in time was the following :
- Compact 19″ rack where I could fit in multiple test computers (small devices, servers)
- Avoid having to convert the storage room into a “datacenter” room which would require cabling and air-conditioning
- Multi-architecture – have at least ARM, x86 and RISC-V as development machines
- Top of the rack switch and private network to isolate testing network traffic from my home network (gigabit cat 6)
- Serial console capabilities for all devices with a terminal server – absolutely necessary for Linux kernel and open source platform software development
- Remote power cycling facility, for the same reasons as #5
- An electronics workbench where I could do minor work with boards or components
- Well organized shelf for components and tools
The Rack
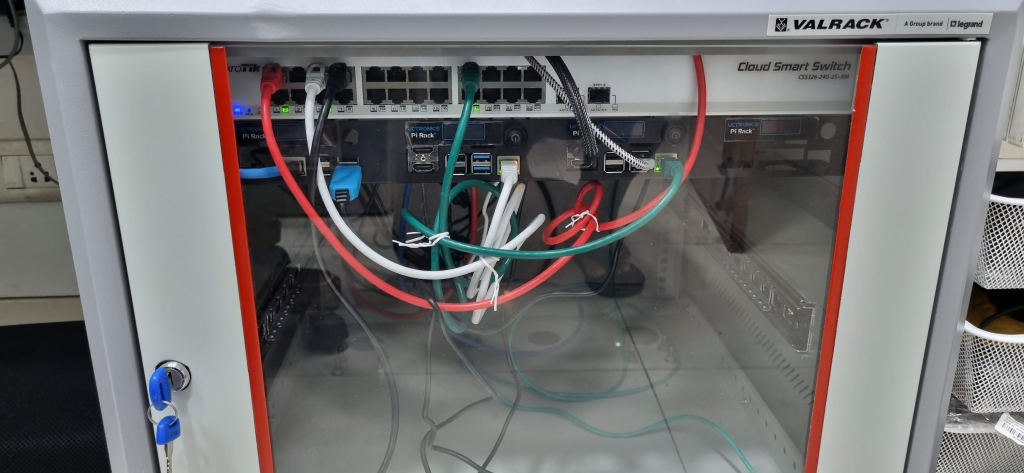
I bought a 12U Legrand Valrack 19″ wall mounted network rack (600mm depth) instead of a floor mounted server rack and converted it to a floor mounted rack. Server racks typically have 1000 mm depth and would have required me to convert the storage room in the house in order to house the rack.

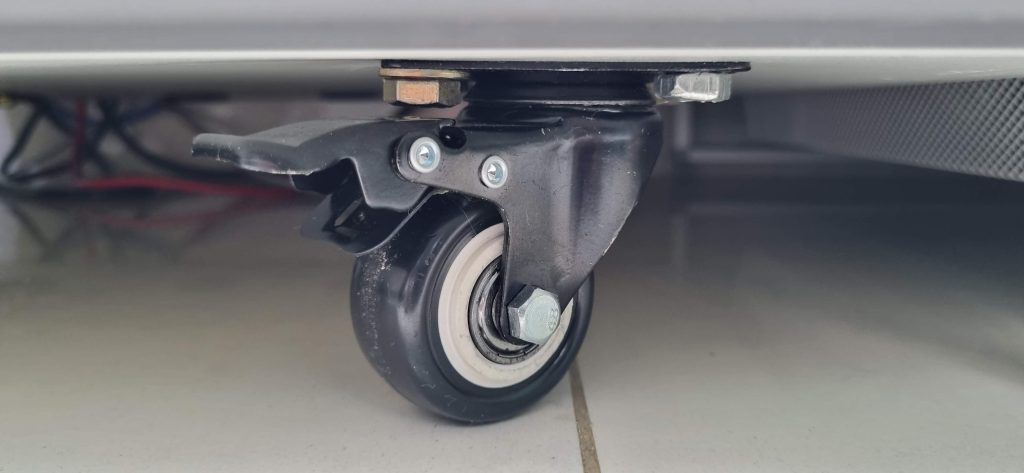
My go-to vendor for datacenter equipment is Railton Electronics & Telecom. They are based on S. P. Road, Bangalore. Since the network rack is wall mounted by design, I modified it with a set of lockable wheels to make it a floor mounted rack.

These are SWIIFT Polyurethane PU Swivel Caster Wheels with 360 Degree Top Plate, 2-inch. Since network racks do not come with the provision for wheels, I had drill the holes and fasten the wheels with 8mm 1″ nuts and bolts myself.
Top of the rack switch
I am using a Mikrotik CSS326-24G-2S+RM 24 port Gigabit Ethernet switch as the TOR switch. I also set up a router for the private subnet in the rack (MikroTik hEX S Gigabit Ethernet Router with SFP Port – RB760iGS) in such a way that the machines in the rack can be accessed from the home network and the rack systems had internet access, but the local traffic is within the subnet.

Instead of making patch cords myself, I am using iVoltaa Ethernet Cable CAT6A Cable Dual Shielded (SF/UTP) Professional Series – 10Gigabit/Sec LAN Network/High Speed Internet Cable, 550MHZ.
Power supply
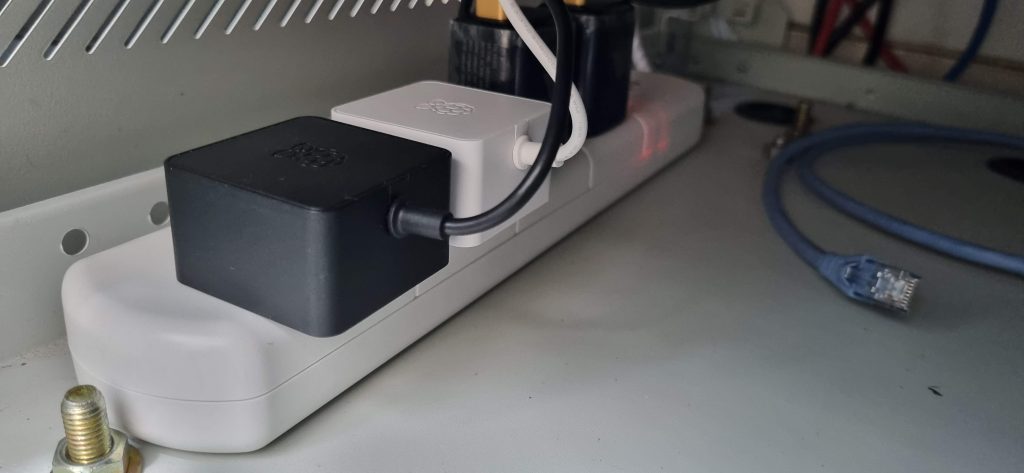
For now, I am using multiple 6A power connections from wall sockets into the rack to power different devices inside instead of single PDU drawing 16A. Since most of the devices planned for the rack are fairly low power, this would work fine. All the ARM and RISC-V devices as well as the switch is powered by this power strip at the back of the rack. The larger servers are connected to 6A sockets on the wall in order to not overdraw current on one single socket.

Remote power cycling
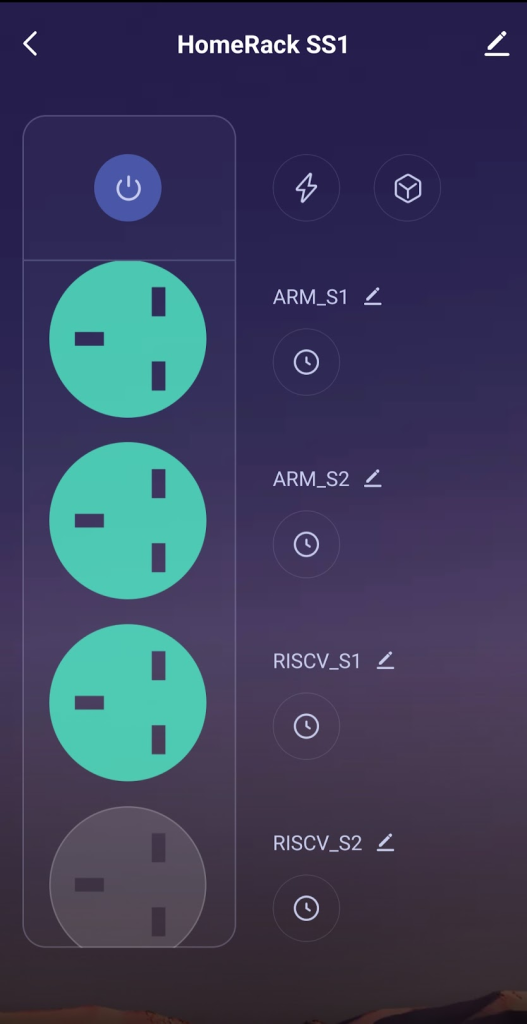
For remote power cycling, I am using Wipro smart plugs and Wipro Smart Extensions.


They can be controlled by Wipro’s own mobile app or Smart Life app. I opted to use Smart Life app because I am working on a side project to control these power sockets from Linux command line using TinyTuya. That project is not yet complete.

When needed, power cycling can be done from the Smart Life app.
Electronics workstation
This is fairly basic – a grounded ESD mat, a silicone soldering mat and magnifying light.

I was also able to find a very nice component organizer box on Amazon and together with a desk shelf, I keep my tools and components organized.

Other stuff
For display, keyboard and mouse, I am using a 4 port KVM switch (4K HDMI with USB type C for keyboard/mouse), of which, two ports are used for two personal computers I use. The third one provides display/keyboard/mouse for any device in the rack and the fourth one provides the same for any device I am experimenting with on the workbench.
