
As a 10th generation city slicker (OK, I have only family lore to go by, which has it that my ancestors were given land in some faraway town by the then king who had established a new capital there in 1707), I had no experience of farming. Forget my own family, growing up, I didn’t even know a relative who had either lived in a village or had been a farmer. Only recently when I found myself reading up on irrigation systems, I realized how ridiculous the whole situation sounded. No, I wasn’t going to grow rice or wheat in a fit of survivalism. It so happened that over the last couple of years, the garden in my backyard had blossomed, largely due to the prodding of the family and to a lesser extent due to excellent help I can get around here. With some agricultural success behind me, I decided to extend my garden to the first floor terrace and eventually to the whole terrace of the two-storied house. I started with lantana (considered weed in some parts of the US, I was told) in large pots over the front part of the terrace, but soon realized that that part of the house was not very accessible for watering the plants. However, if I built a drip irrigation system for the plants, not only would it solve my problem but also that I would get to play with fun things like programmable water timers. That seemed like more motivation than enough and off I went farming. In a series of posts, I will write about what I have been doing to build a fully automated drip irrigation system.
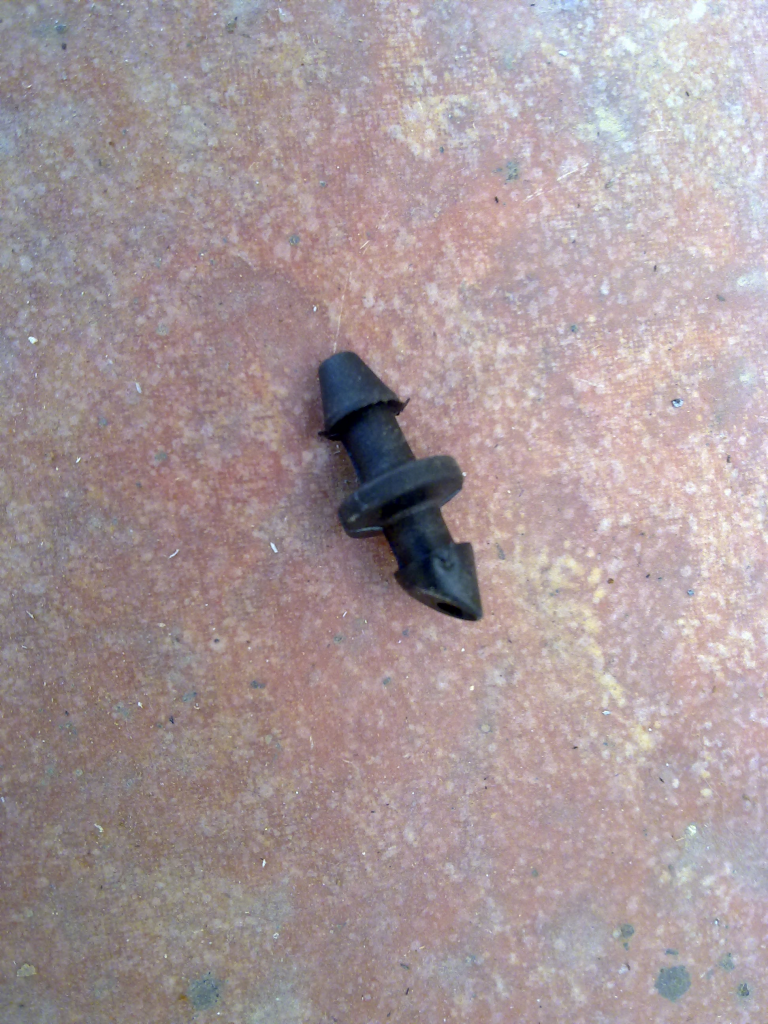
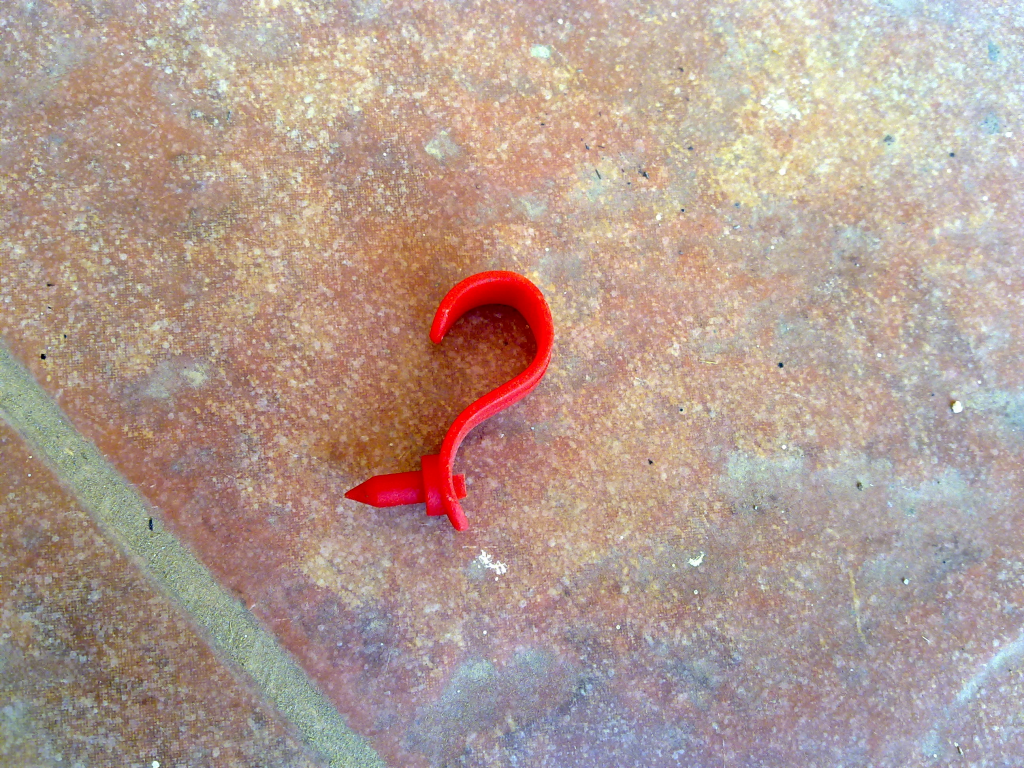
As in any project, do your homework. There are plenty of materials on the web on drip irrigation, I found Irrigation Direct very useful and exhaustive. The concept is simple – you run main water lines, usually 0.75″ pipes carrying water to various parts of the garden and then 6mm pipes to finally deliver it to various plants, pots and beds. You need various types of emitters depending on what exactly you are trying to irrigate – sprinklers for large beds, drip emitters for small flower pots and so on. I discovered a couple of shops selling agricultural equipment on S.P. Road (yes, you can find them if you are willing to spend long afternoons walking up and down the road) which had most of what I needed. The basic components look like this –
The 0.75″ tubes carry the water to the various parts of the gardens. The 1/4″ (6mm) tubes deliver them through the emitters.
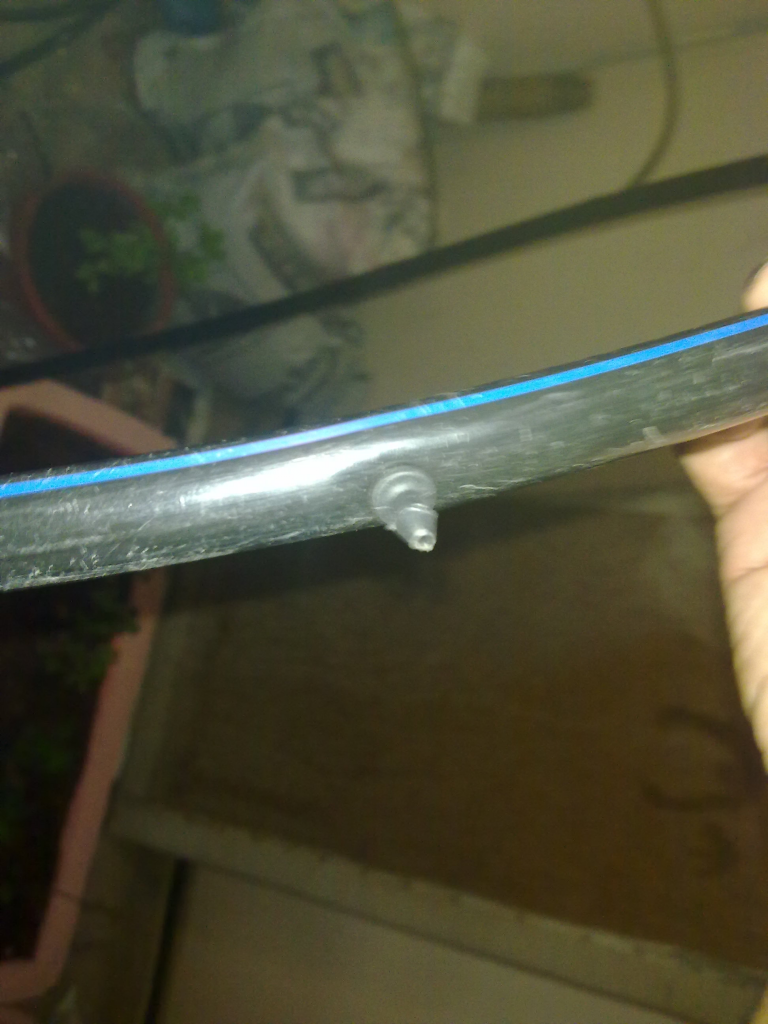
To connect the 1/4″ pipes to the 0.75″ tube, you first punch a small hole using the punch and then shove in a 1/4″ connector using pliers. The end of the connector with a slanted end should go into the tube. The 1/4″ tube connects to the other end.
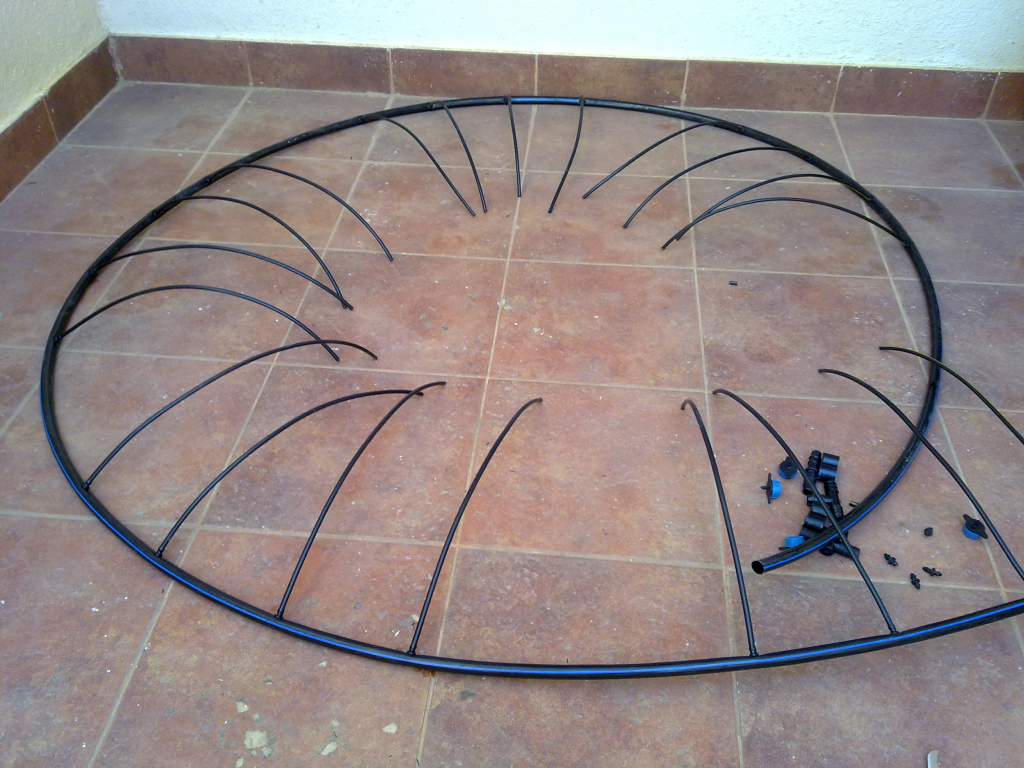
For my first floor terrace, I chose a long row of flower pots to irrigate. That needed a line of emitters. I decided on 4 emitters per flower pot and then built the tubing for them.
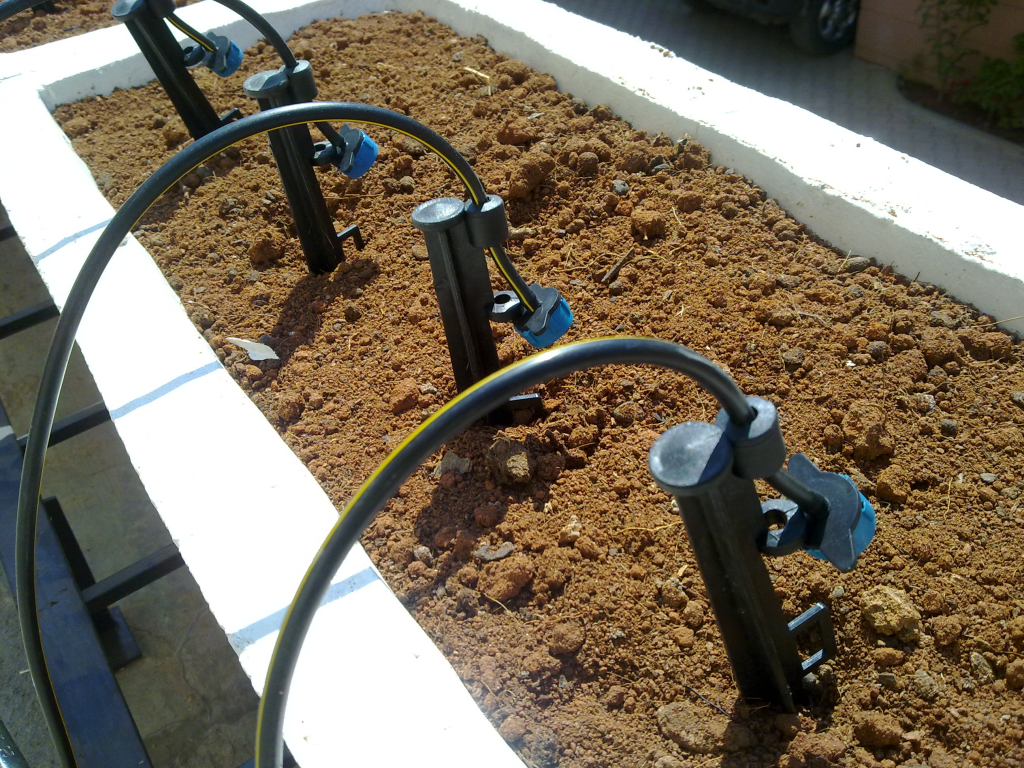
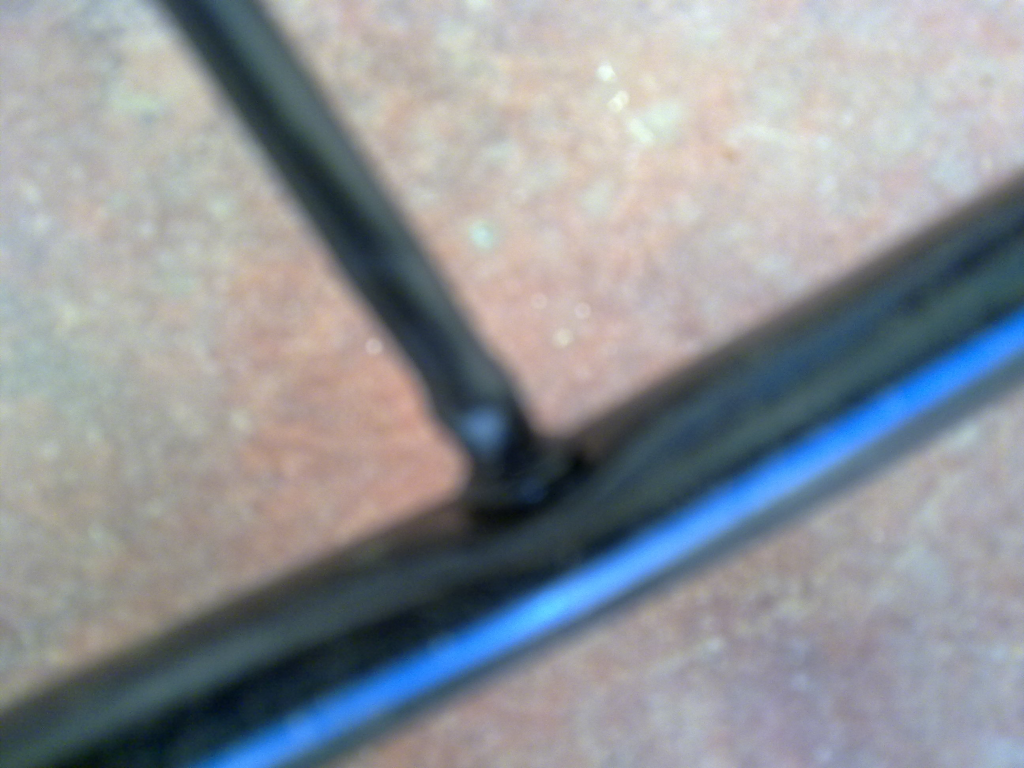
I then ran the main tubes along the flower pots and used 9″ pegs to place the emitters (in this case drip emitters).
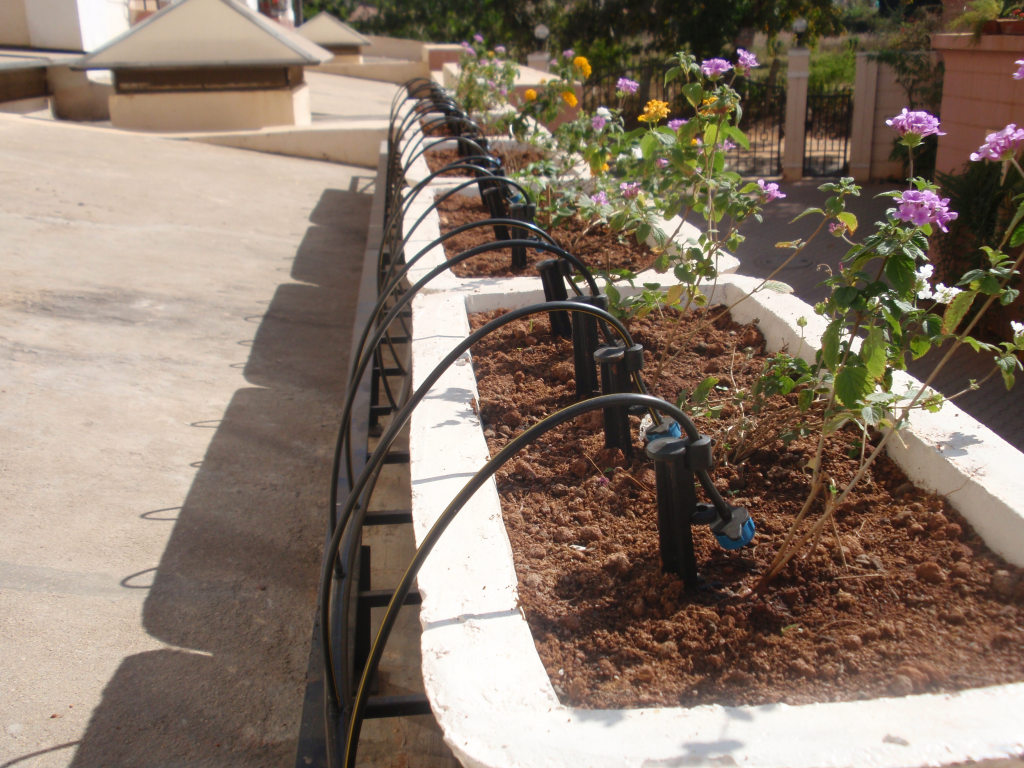
The final assembly looked like this. I connected the main tube to a water main with a pressure valve and the drip irrigation system was ready to go.
This is still work in progress though. I soon realized that the drop emitters I used first weren’t providing adequate water for the whole flower bed (drops going straight to the bottom of the pot). I am now experimenting with a few other types of emitters to see if I can get them to work better. So far, these 360 degree adjustible vortex sprayer emitters seem to be working fine. Once I am happy with this, I need to automate all of these using water timers in future. That, I will write about in a different chapter later.
Leave a Reply